Creative Photography - Add Impact to Your Subject
I love to take pictures. I have always shot my own models and assembled all my ads. When digital cameras came out... well suffice it to say I had to get an arsenal of storage to hold all my pics. I have taken well over 15,000 since the digital camera age was born about 8 years ago. Makes scrap booking a bit of a task. Good thing I don't do it. Ha! Then I recently bought a Nikon D40. Love love LOVE that camera! I was having a terrible time with my old digi camera because it took so much time to focus etc. that by the time the camera got done farting around, the baby model I was shooting had moved on and I would miss the shot.
Well, no more. The Nikon is such a fantastic camera. The D-40 in particular. Well, this isn't a camera ad, I just thought I'd let you know there is a great one out there and the price is coming down!

If you love photographing people, flowers, or wildlife, you never have to look too far for a subject. The true challenge is to create an image with real impact.
How do you make your subject really stand out in a photograph? As a beginner, it is tempting to blame the camera when you don't quite get the results you want. I have news for you - buying a more expensive camera will not necessarily solve the problem. In truth, the techniques in below will work for almost any camera. All you need are manual aperture and shutter speed settings, and a decent zoom lens.
Here are a few simple tips for adding impact to your subject.
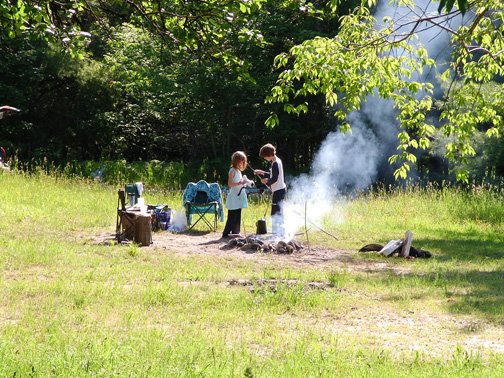
Tip #1. Highlight A Brightly Lit Subject Against A Dark Background. If you photograph a flower is in the sun, but the background is in the shade, the attention of the photo will naturally fall on the flower. This is a simple principle to understand, but it is a little easier said than done.

When your photograph has two very different levels of light, the lightmeter in your camera can be confused. It may expose for the dark background, causing your subject to be overexposed. The trick is to expose for the subject.
You can't do this on automatic. What you need to do is switch your camera to manual, and adjust the aperture and/or shutter speed settings until the photo is underexposed by one or two stops (according to the lightmeter). When you get the balance right, you should have a dark background and a perfectly exposed subject.
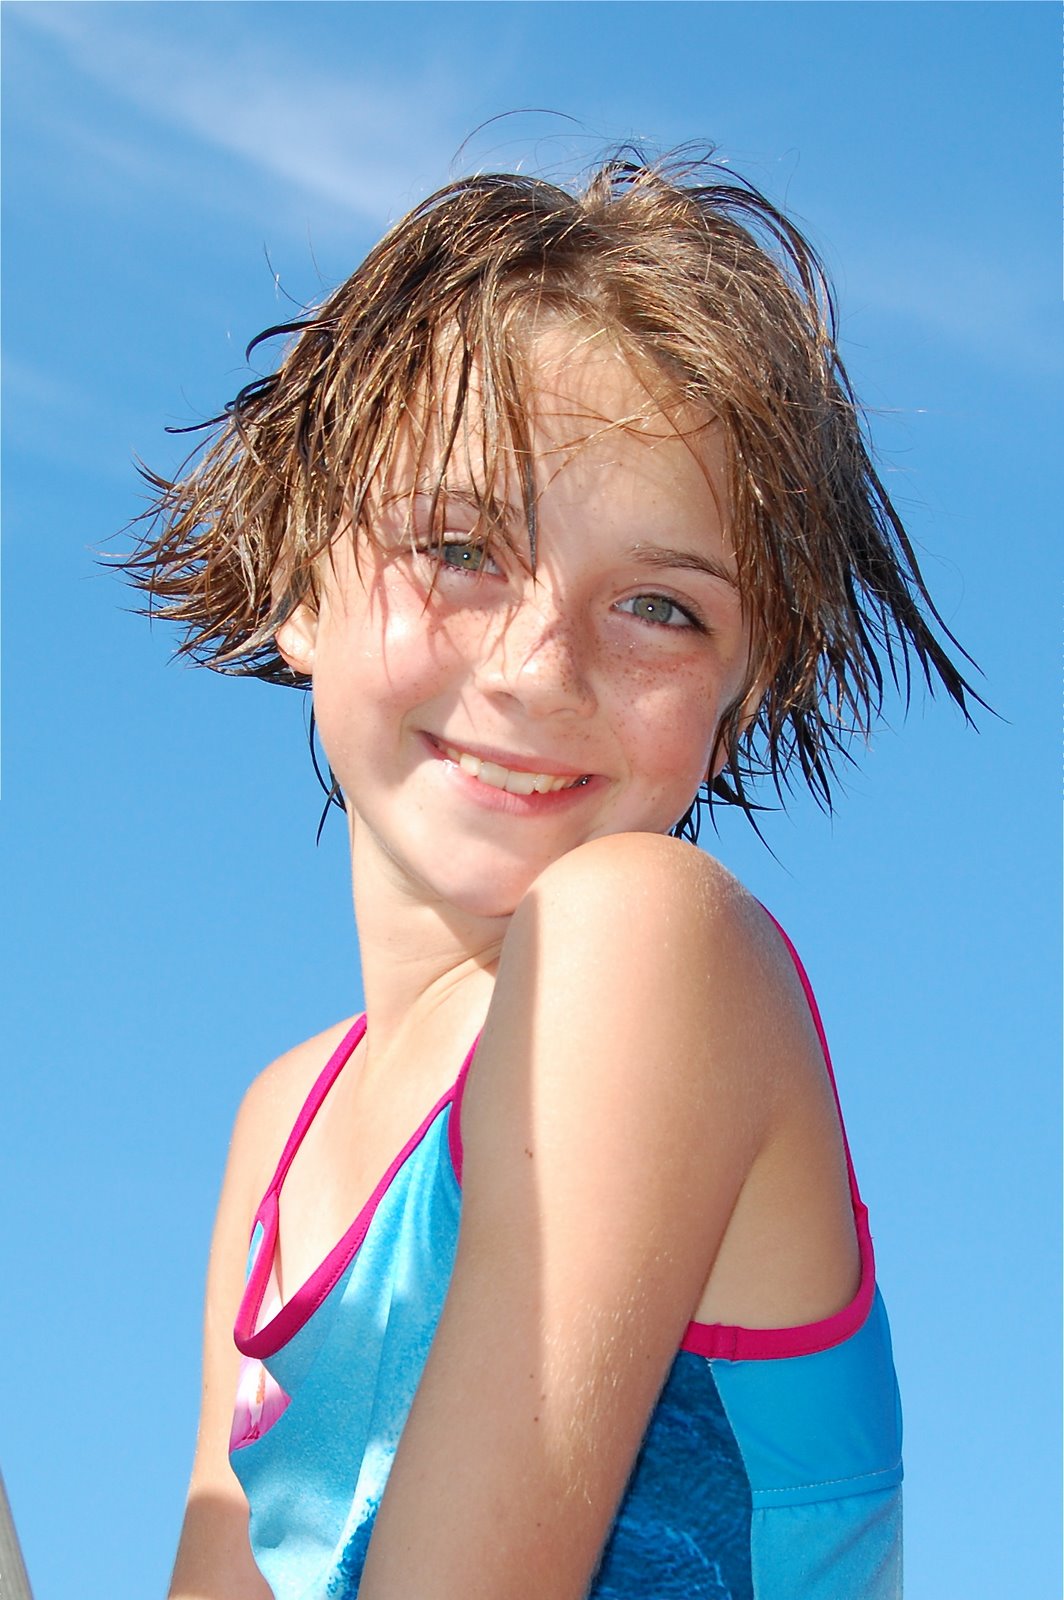
Tip #2. Use A Small Depth Of Field To Blur The Background. You have seen plenty of photos where the subject is sharp and clear, but the rest of the picture completely out of focus. This is an excellent way of creating a three-dimensional effect and adding real impact to the subject.

To achieve this, you use a combination of a large lens and a wide aperture. First, zoom in on the subject with your largest magnfication. This will naturally reduce the depth of field. Then adjust the aperture to its widest setting. A wide aperture will reduce the depth of field even further.
The closer you are to the subject the more pronounced the effect becomes.

Tip #3. Use A Wide Angle Lens To Exaggerate Perspective. This technique is almost the opposite of Tip #2. A wide angle lens makes everything in your photo appear much smaller, so objects in the distance seem much further away than they really are. Meanwhile, you can stand very close to a subject in the foreground (a person, animal etc) and still fit it in the frame.
As a result, your close-up subject will appear to tower over a background in which everything else seems very small and distant. Although the surroundings will be mostly in focus (the wide angle lens has a much larger depth of field), they will seem relatively small and insignificant, making your subject seem larger and more dominant by comparison.
So there you have three fairly simple ways to add impact to the subject in your photos.
The great thing is, you don't need a professional camera to try these ideas out. As I said earlier, if you have a zoom lens, and manual control of your aperture and shutter speed, you can add impact to your photos with just a little practice.
Even better, in the age of digital photography, practice costs nothing...so get out there and start snapping!

All photos are ©2008 Jennifer Hughes -
If you found these tips helpful, check out Andrew Goodall. He released two top-selling ebooks that have already helped thousands of new photographers learn the art and skills of nature photography. See Andrew's images and ebooks at http://www.naturesimage.com.au
While you are there, enjoy even more great photography tips by subscribing to their online newsletter...it's free!
posted by Jennifer @ 11:33 PM
0 Comments
![]()
![]()


0 Comments:
Post a Comment
<< Home